
How to Make a GIF in Procreate
Wondering how to make a GIF in Procreate?
The Procreate App makes it possible to create animations based on your artwork.
It takes some practice to get used to the animated gif feature, but once you understand the behind-the-scenes workings, making animated gifs is so addicting.
Pause now and save for later! ↓
Table of Contents
We like to think of animations as a flipbook (didn't everyone make those as kids??) where each "page" is a Procreate Layer.

^ We'll show you exactly how to make this one as well as 7 more awesome animated GIFS!
Read the steps below or watch the full video tutorial, where you'll learn how to create your first animation.
What Is A GIF?
GIF stands for Graphics Interchange Format, and it's a short animation that resembles a video. They're often used on social media, in text messages or even in blog posts (like the ones you see here!). While they may look elaborate, you can actually create an animated GIF in Procreate using basic animation settings. Here's how!
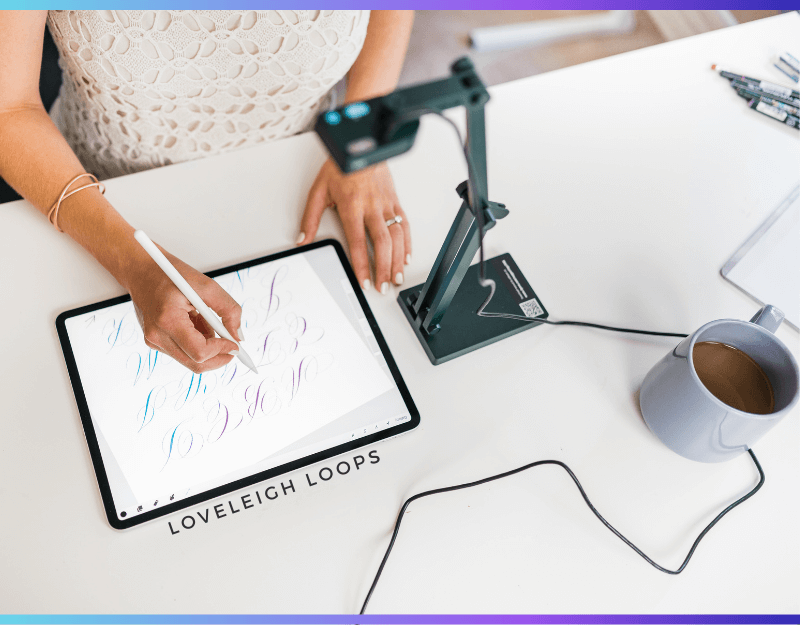
Jillian writing on the 12.9-inch iPad Pro with the 2nd Gen Apple Pencil
Basics Of Creating Animated GIFs
As we mentioned, when you want to create an animated GIF, it's best to approach it as if you were creating a flipbook. This simple animation works through a quick succession of multiple frames, just like a movie.
Let's look at a basic Procreate tutorial and go over the individual steps needed to make a basic GIF in Procreate.

Learn to make this in our Procreate Lettering Animations course
1. Basic GIF Design
Making your first Procreate animated GIF is easy once you have an idea of what you want to create. So, before you start filling your Procreate layers with text, take a moment and look at your overall design for your GIF.
Although you can always go back, having at least something of a vision for how you want the animation on your GIF to appear will save you time down the road!

Learn to make this in our Procreate Lettering Animations course
2. Build Your Procreate Layers
Now it's time to put together your creation and it all starts with a blank layer. For now, we'll leave the animation assist for a later time and open a normal canvas. Any canvas size will work but keep in mind that the larger the GIF, the slower the loading time.
After that, it's just a matter of stacking the Procreate layers until you complete your final design. On each layer, simply draw the individual words or items that you want to appear.
After you're done with the first layer, swipe left, duplicate and add your next element on the new layer.
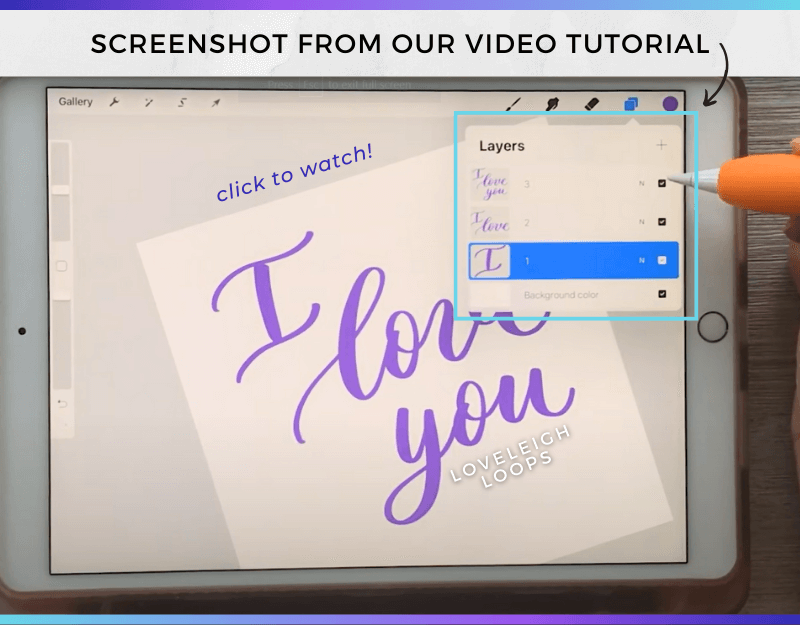
Three layers that build a Procreate animated GIF
In our video example, we want to write the words I Love You with each of the words appearing separately. So, the minimum number of layers needed to create this animated GIF in Procreate is three.
Once you've finished the first version of your GIF, you can see what it actually looks like! To preview your result, go to Actions in the toolbar, then to Share layers and tap Animated gif.
You may also like: Beginner’s Guide To Procreate Lettering
3. Set The GIF Animation Speed
Sometimes, the animation moves too fast for it to feel natural or be readable. If you're seeing what we saw in our tutorial video, don't be alarmed! You can easily adjust the speed settings.

Adjust the settings until you get the exact GIF speed you’re looking for! Learn to make this in our Procreate Lettering Animations course
On your preview screen, there's a slider that gives you the number of frames per second. Watch your GIF and move the slider to settle on a speed that you like.
And that's it! Now all you have to do is hit Export animation and your first product is ready for use on YouTube or your Instagram feed!
Speaking of social media... Follow for daily calligraphy and lettering tips!
You may also like: Top Procreate Shortcuts
Useful Tips For Your GIF In Procreate
The animated GIF that you just made represents the most basic way to make a GIF in Procreate. With just a few useful tips, you can take your GIF to the next level!
Blank layers: Start and end your GIF with an empty layer for a better end result
Layers settings: Only the layers that you’ve selected will appear in your animation, so make sure you have the correct layers checked/unchecked
Duplicate final layer: Have your message on the screen a little longer by having two identical final layers
Decorative elements: Add small elements such as hearts or brush stamps and have them dance across the screen to embellish your GIF even more
See how easy it is to get started with creating animated GIFS?! Where will you share your Procreate GIFs?

Learn to make this in our Procreate Lettering Animations course
You may also like: How To Blend In Procreate
Animated Procreate GIF Examples
Get inspired by these animated GIF examples! These are all taught in our Procreate Lettering Animations course.
Make a video out of your drawing like this animated letter h:

You may also like: How To Make Money With Procreate
This next example mixes stationary elements with moving objects and creates a really dynamic composition:

You may also like: iPad Accessories For Procreate
This final example uses the same trick and only the word “rainbow” contains an animation. It creates an incredibly engaging visual with the drop shadow of the word changing colors:

You may also like: Benefits Of Digital Lettering
Ready to learn more advanced techniques?
Do you find all of the tools in Procreate overwhelming? Or maybe you're just so excited to understand the different settings so that you can create the most elaborate drawings and animations possible?
Check out our full online course: Procreate Lettering Animations. You'll learn how to make 7 more GIFs that each require a different type of animation. We'll walk you through the exact process step-by-step so that by the end, you'll not only have 8 complete animations, you'll also have a firm understanding of how to employ the features of Procreate to make your own.

More Free Procreate Resources
Here at Loveleigh Loops, we’ve taught thousands of students how to use Procreate, and we want to help you, too! Find some of our most popular Procreate resources:
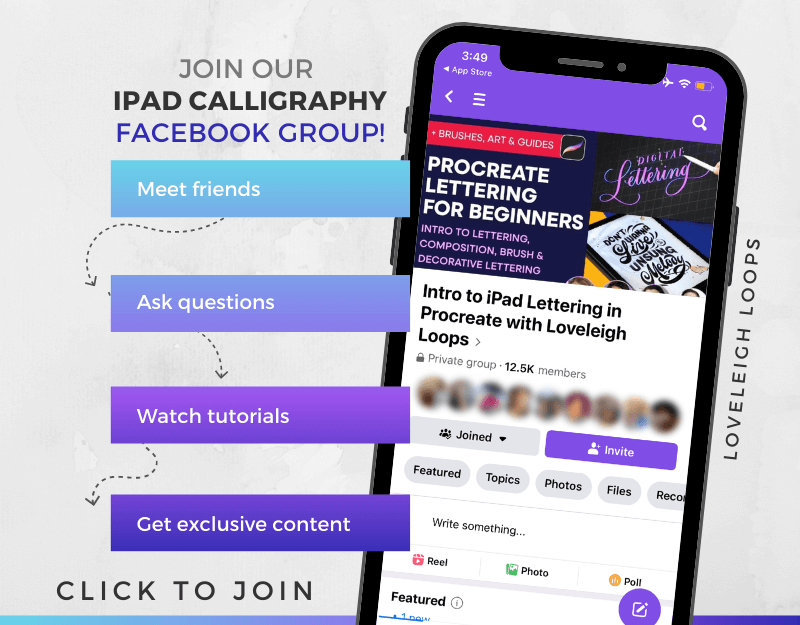
Facebook Group For Support
Learning is always more fun with friends! Join our free Facebook group for Procreate lettering so that you can share your work, ask questions and get access to training resources.
You may also like:
