
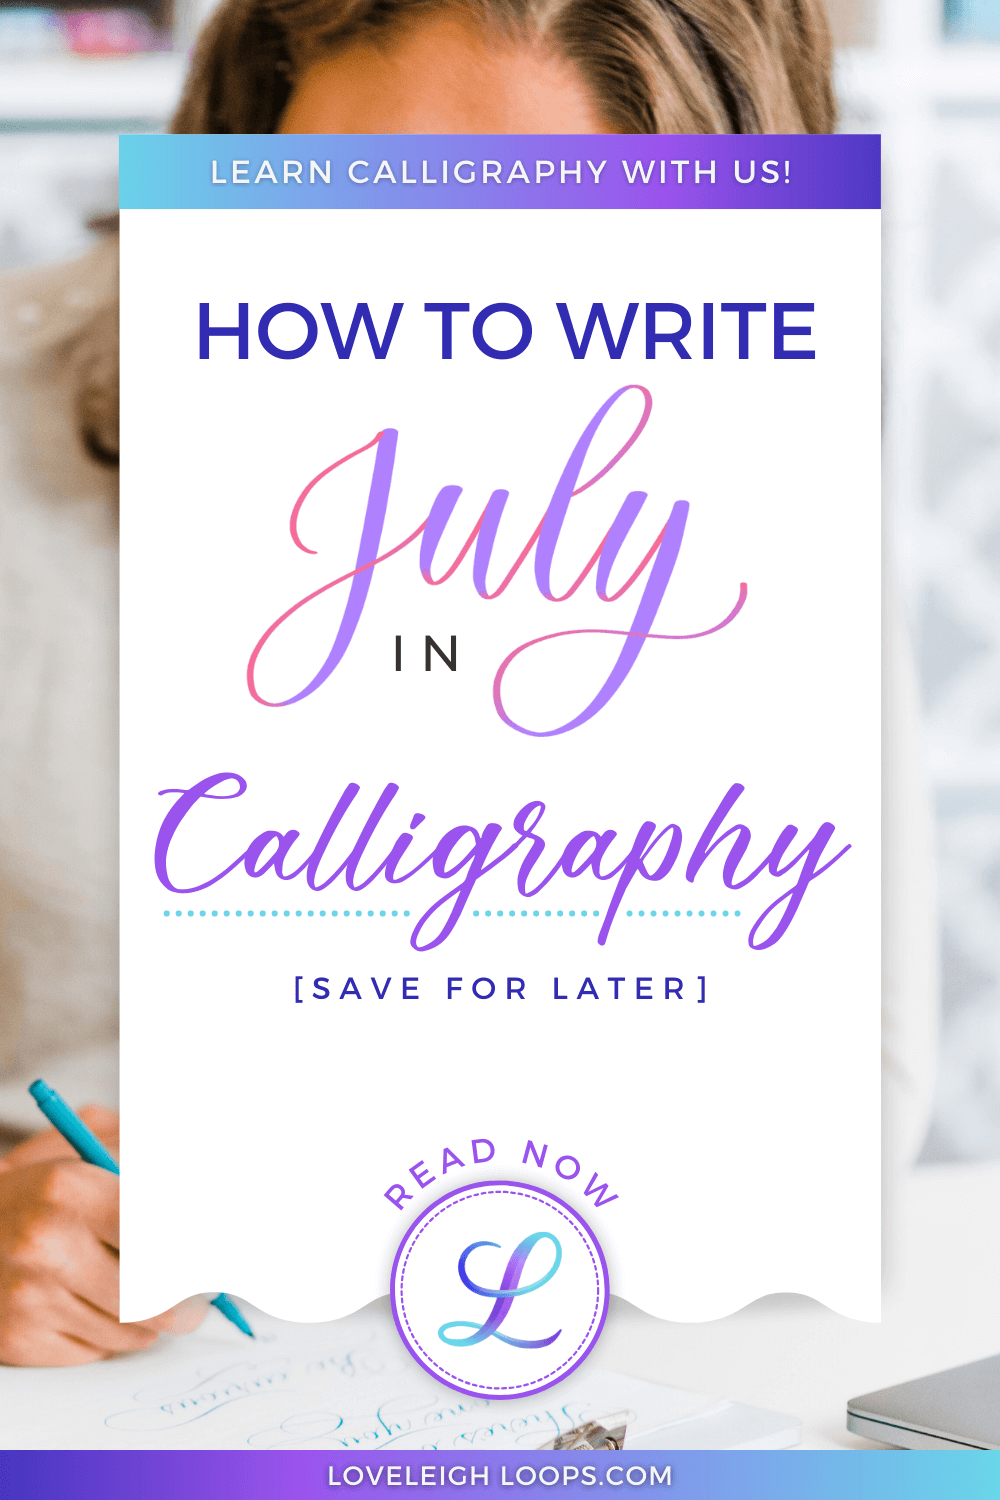
How To Write July In Calligraphy (+ Free Worksheets)
There's so much to celebrate this summer month! Did you know that besides Independence Day, July is officially known as National Picnic Month?
And in case you need an excuse... it's also National Ice Cream Month!
In this easy calligraphy tutorial, we'll show you how to write July in calligraphy. We'll show you 8 fun ways to write the word July using popular lettering styles and tools.
Pin it for later! ↓
P.s. Don’t forget to join our July challenge as well! You’ll get a daily lettering prompt and can share your results online with our other students. Join here:
Table of Contents
Letter By Letter: July
We all learned how to write in schools but writing calligraphy is a little different from writing cursive. Rather than the uninterrupted smooth motion of cursive, lettering artists create each letter using a set of fixed strokes.
These strokes are an excellent place for anyone who wants to get started with calligraphy! Let's look at each of the strokes that make up each letter and how to write them.
Breaking down the letters
When you look at each letter, July isn't a particularly difficult word to write since it's nice and short.
With only four letters, breaking this word down into the basic strokes looks like this:
J: Entrance + descending stem loop
U: Underturn + underturn
L: Ascending stem loop + exit stroke
Y: Compound curve + descending stem loop

Fun fact: You only need a few strokes to write most words in calligraphy!
We know what you're thinking... doesn't July start with a capital J? Capital letters change quite a bit so we'd rather show different examples (down below) rather than going over the strokes here, but we do teach the calligraphy capital letters here if you're ready.
Easy tip: Want to learn more about these strokes? Then we encourage you to take a look at our post on the basic strokes of calligraphy for a free practice sheet!
8 Fun Lettering Styles
Pin it for later! ↓

Now that we have the letters down, let's go over a few ways to write the word July.
For each style, we'll cover all the basics and link to a full tutorial for you to learn more. Pay attention to diversity in letter form - there's an exciting amount of variation between styles, even for a word as short as July!
Faux Calligraphy

July written in faux calligraphy
Faux calligraphy is generally considered to be the easiest style to get into if you're new to lettering. You can do faux calligraphy with any pen, pencil or marker that you happen to have on hand which makes it perfect for beginners!
For your thick strokes, keep the following two things in mind:
You add thickness on every downstroke
Shading happens on the inside of the curve
Easy tip: It's really helpful to take a moment before you start writing to look at each letter and identify where the thick lines are. This way you make writing a lot easier!
Brush Lettering

July written in brush pen lettering
With its flexible tip, a brush pen can make thick strokes while writing, without the need to circle back to add shading like you have to do with faux calligraphy.
To achieve this effect: Apply more pressure to your pen when you're writing downstrokes.
Bounce Lettering

July written in bounce lettering
Once you've mastered the two styles above, trying your hand at bounce lettering presents a fun challenge for all intermediate calligraphers! Instead of having each letter rest on the baseline, bounce lettering literally bounces them around the above and below, lending a little extra style and flair to your writing.
You can bounce the word July in many different places. Here are the locations we used:
Second stroke of “u”
Bottom half of the “l”
Descender on the “y”
iPad Lettering

July written on the iPad with a color-changing calligraphy brush
For beginners, learning to control the amount of pressure you apply is one of the hardest skills to learn. Fortunately, the iPad is a very forgiving perfect platform that allows for endless practice without an ever-growing pile of used practice paper!
If you find yourself struggling with your brush pens, don't hesitate to download our free color-changing Procreate brush. This brush is custom-made to change color based on the amount of pressure you use.
Copperplate

July written in Copperplate
Looking for a little more drama and elegance? Then break out your pointed pen and try your hand at Copperplate. This script is a style of traditional lettering that seeks to mimic writing from the 19th century.
While writing with a pointed pen looks very elegant and classy, it's not as hard as it looks! Just allow yourself some time for the biggest challenges with learning this style: learning the letter shapes and writing with a nib and ink.
The capital letter "J" is five units long on your guide sheet, so take your time while writing.
Spencerian

July written in Spencerian
A popular choice with traditional lettering artists, the Spencerian script is another beautiful historic writing style. Just like Copperplate, it's normally done with a pointed pen, but it does come with its own basic strokes and therefore it has unique letterforms.
When you look at the example, does it look more familiar than the other ones? This is because the cursive style taught in schools is based on this style!
Flourished Copperplate

July written in Copperplate flourishes
Finally, the most embellished type of calligraphy there is: flourished calligraphy. At first sight, the decorative lines appear spontaneous and expressive extensions of the letters but don't be fooled! Every flourish is planned out in order to get a nice and balanced composition.
You can flourish in these letters in countless ways, but in the video tutorial we demonstrated these flourish locations:
Top and bottom loops of the “J”
Stem loop of the “l”
Descending stem loop on the “y”
Flourished Spencerian

July written in Spencerian flourishes
Flourishes can be added to any script, and here you see how the Spencerian script looks with flourishes. In our demonstration, we added flourishes in these locations:
Top loop of the “J”
Descending stem loop on the “y”
Easy tip: We recommend using a pencil for planning your flourishes and simply erase them once you're done, as you see us do in the video tutorial.
Pin it for later! ↓

Free Calligraphy Practice Sheet
Will you be practicing "July" in your planner or doing fun seasonal crafts? Please tag us in the comments if you're sharing your masterpiece online!! We want to cheer you on.
Also, don't forget to download and print your free worksheets. Here at Loveleigh Loops, we have countless free products to support you on your lettering journey.
Check out one of our other month tutorials:
