
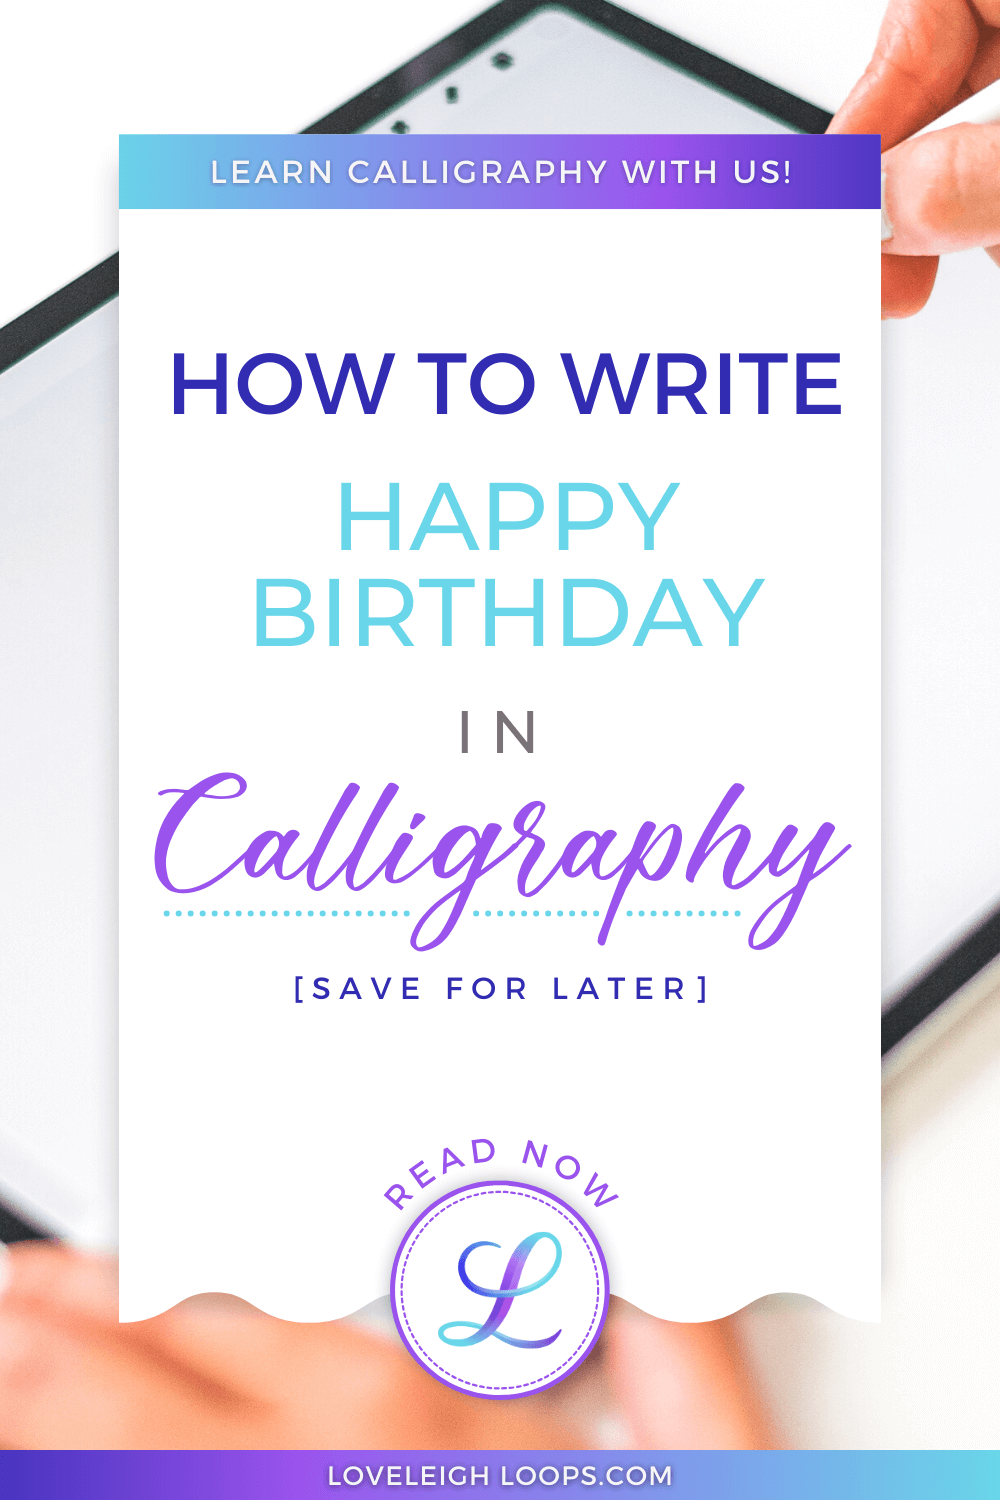
Happy Birthday Calligraphy Tutorial [Free Worksheet]
Apart from bringing the birthday cake, making a personalized birthday card is one of the best ways to make someone feel loved on their special day!
Today, we'll show you how to write happy birthday in calligraphy so you can make your own thoughtful DIY birthday cards, banners, posters, flyers or digital illustrations.
Psst... pause now and save this for later!
We’re Jillian and Jordan, the calligraphy teachers and twin sisters behind Loveleigh Loops. We’ve taught tens of thousands of beginners calligraphy all over the world, and we’re so excited to teach you some basic calligraphy here today. Let’s start at the beginning with what supplies you need!
Table of Contents
What Do You Need?
Before you start doing birthday calligraphy (or ANY calligraphy), it's always smart to gather the supplies you need first.
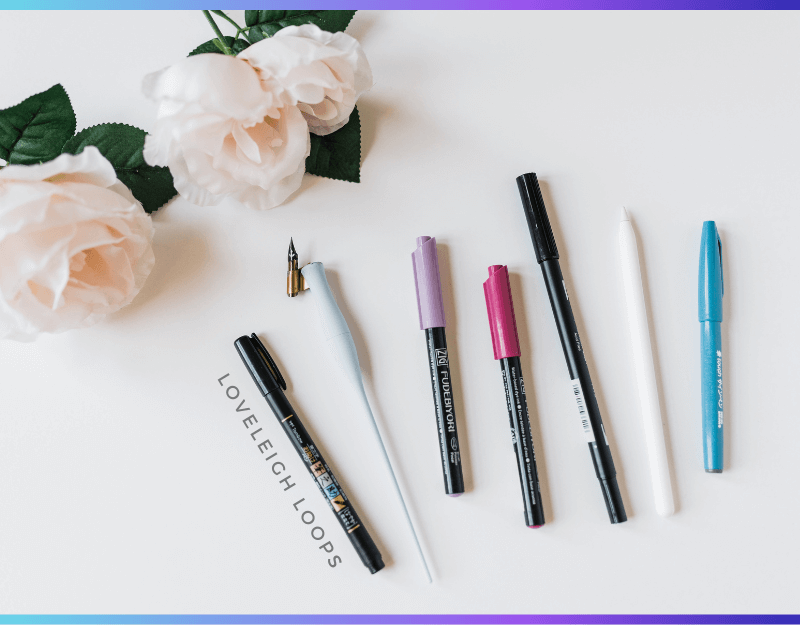
To do calligraphy, you need the following things:
A writing utensil: You can use a pencil, normal pen or Apple Pencil (for iPad lettering) to start if you don't have calligraphy supplies. Or you can use calligraphy-specific pens such as a brush pen or pointed pen. If you're not sure where to start, why not pick up a pencil so that you can erase as needed?
Paper: Any normal paper will do to start practicing right away, but you'll want to buy the right paper for your pen before you create a final composition. Read our calligraphy paper guide to see what you need.
Guidesheet: Having a guidesheet underneath your actual paper lets you practice handwritten lettering like a pro! This will help you maintain equal spacing, uniformity in your letter forms and more.
Happy birthday outlined example: You can build up muscle memory by tracing our happy birthday calligraphy guide. Planning out your design before you start leads to the best result!
Note: Our traceable guide sheets are free for you to use for personal use but aren't royalty-free to be reproduced. Try using it as inspiration for your own compositions that you can sell! If you want to learn more about selling your calligraphy, see if a calligraphy business is right for you.
To watch along as we write the following examples of happy birthday calligraphy, watch our video:
We can also teach you how to write thank you the same way.
Now that you're all set up, let's look at the first example!
Traditional Calligraphy
Despite its name, traditional calligraphy often works really well in modern projects such as a birthday card or banner. This is why traditional scripts like Copperplate or Spencerian tend to be popular with digital calligraphers.
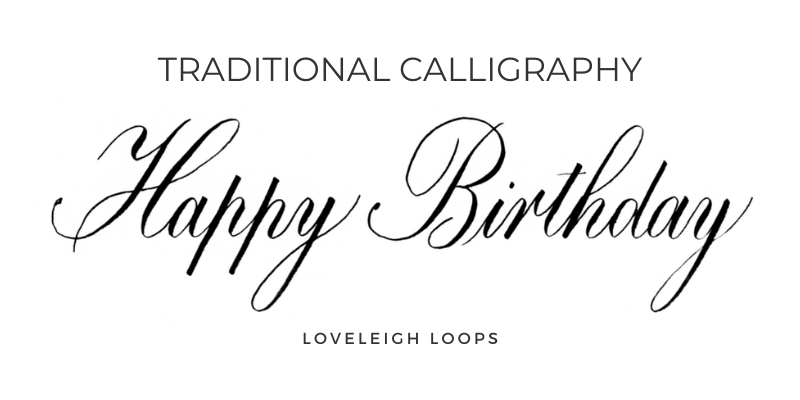
Happy birthday in traditional calligraphy
Our first happy birthday calligraphy example features letters inspired by the Copperplate script, a traditional script that was popular in the 19th century and still practiced by many calligraphers today.
If you love a more formal or vintage look for your happy birthday calligraphy, then a traditional style like this is an excellent choice!
You may also like: Copperplate Calligraphy Alphabet
Copperplate Calligraphy Tips
Writing following the Copperplate calligraphy style, keep the following in mind:
Letters are more slanted (55°) than in modern hand lettering styles
Both ascending and descending stem loops are a little taller than you would find in other styles (not sure what these are? read our basic strokes guide)
Using a guidesheet helps with getting the consistency that's at the heart of a traditional script
See Copperplate calligraphy in action:
Traditionally, Copperplate calligraphy is done in black ink on a white background but for happy birthday cards, you may want to consider a more colorful approach!
This is where modern calligraphy comes in.
Modern Calligraphy
If you prefer a more playful and colorful style for your happy birthday calligraphy, then modern calligraphy is a great choice!
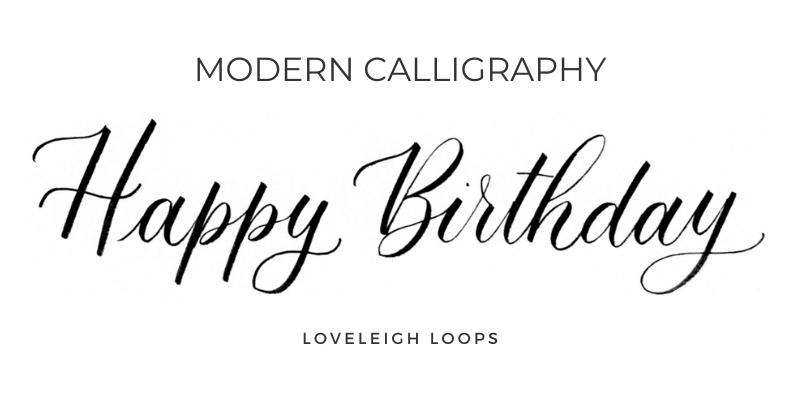
Happy birthday in modern calligraphy
Whether you realize it or not, you probably see examples of modern calligraphy all of the time on social media. It's a very common medium for digital illustrations and typography art.
Speaking of social media... we share content daily on social! Click follow to get more tutorials and tips!
Modern calligraphy can be customized to fit any style. Follow these tips to keep your writing uniform.
Tips On Modern Happy Birthday Lettering
When you do modern calligraphy, you let go of all the rigid traditions and rules of a traditional script. That being said, here are three characteristics of modern calligraphy to keep in mind:
Letters are less slanted and more upright than in most traditional scripts
Ovals a little wider than in our previous example
No required traditional entry elements. You choose whether or not to use them
You can take modern lettering to incredibly creative lengths, like this example from our digital lettering course Procreate Lettering Projects:

This is made on an iPad using the Procreate App
You are behind the steering wheel when you do modern calligraphy! But for best results, you should learn the calligraphy fundamentals first. Learn the rules, then you can break them.
If you need inspiration for your happy birthday lettering, check out these images of different modern calligraphy alphabets or search for calligraphy vectors and ideas on Pinterest.
Flourished Calligraphy
Finally, there is a special style of calligraphy that works really well for greeting cards: flourished birthday calligraphy.

Happy birthday in flourished calligraphy
Calligraphy flourishes are decorative lines and embellishments that you can use to make your hand lettering really stand out.
Flourishing is an advanced technique that beginners can't learn on a whim without having the fundamentals down already, but you can use our traceable guide to try it out!
You may also like: iPad Flourishing Guide
Flourishing Tips
If you're ready to try flourishing yourself, here are a few pointers to keep in mind when you try your hand at these embellishments:
Always plan out your decorative lines. That way, you won’t feel nervous when you create your birthday wish.
Bigger is generally better. The bigger your flourishes, the less they interfere with legibility
Use white space. An easy way to start flourishing is to decorate the space above and below the words.
There are endless variations and styles when it comes to flourishing but it can be a tricky thing to pick up when you're a beginner. This is why we've got lots of resources available for you if you want to give flourishing a try. Or even better, let us teach you the art of these elegant lines in our membership: The Flourish Space.
See happy birthday written in real-time with flourishes using a brush pen:
Final Thoughts
Use this happy birthday calligraphy tutorial to create an incredibly thoughtful card, banner, poster, sign or flyer for someone in your life. We can guarantee the recipient will cherish the effort you put in! Have a slice of birthday cake for us when you're celebrating.
Want to learn more calligraphy with us? We have free worksheets, video tutorials, online classes and more waiting for you! We would love to be your calligraphy teachers.
You don't have to feel isolated on your calligraphy journey. Join our free Facebook group so that you can be inspired by the thousands of other calligraphy students in our community.
More calligraphy tutorials:
Mom, Dad, Grandma and Grandpa in Calligraphy: Read now
