
How To Use Brush Pens: Beginner's Guide (+ Video Tutorial)
Brush pens are a fun, affordable and fuss-free way to start with calligraphy, making them PERFECT for beginners.
One of our favorite things about brush pens is that you can jump right into the action. Feeling inspired? No need to fill up a paint palette or gather your nibs; just pop off the cap and get going.
Translation: go from inspiration to execution in seconds!
...once you have the basics of how to use brush pens down.
Today, we'll show you all of the basics of using brush pens so that you can go from zero to practicing by the end of this article.
Let's dive in!
Table of Contents
Pin it for later! ↓
The Different Types Of Brush Pens
In the world of art supplies, it's easy for all of the different tools to blend together. So let's make sure the utensil you have is indeed a brush pen after all!
Brush pens are basically art markers with flexible tips:
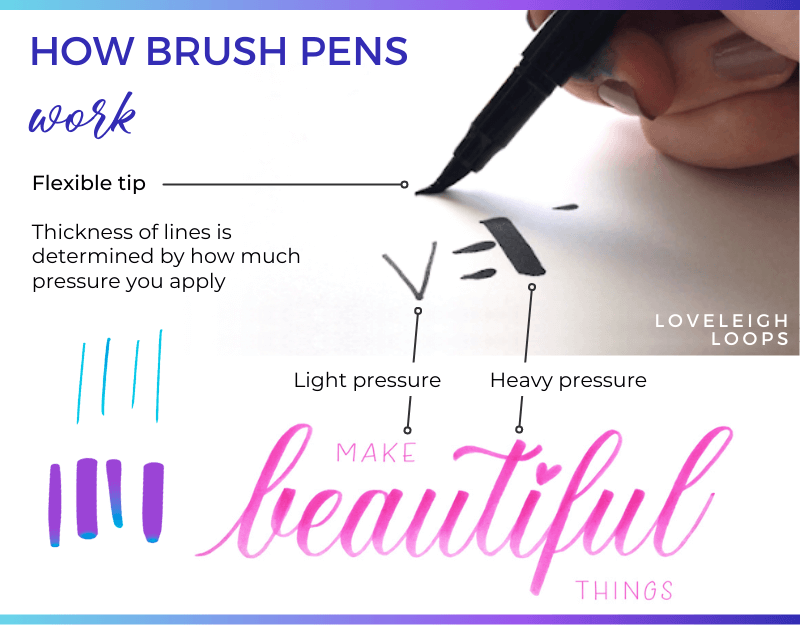
Line thickness is determined by how hard you press
This flexible brush tip is what allows you to create thin and thick lines.
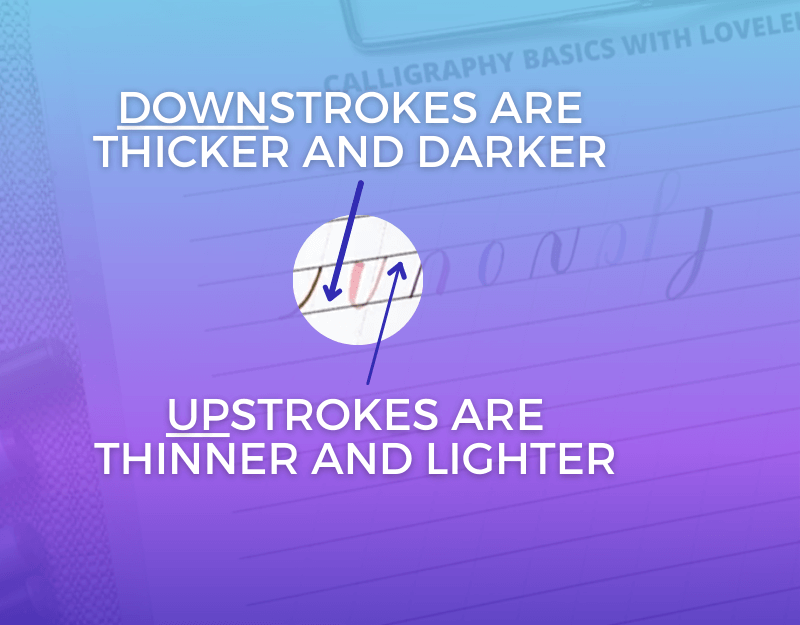
The thin lines require a light touch, and are usually upstrokes (drawn in the upward direction)
The thick lines are made by pressing harder on your downstrokes
Different pressure allows you to achieve both thick and thin lines with just one brush pen!
Learn more in our basic calligraphy strokes guide.
Note that a brush pen does NOT require water like a paint brush would, though you can achieve watercolor effects and other creative coloring options with the flexibility of this tool.
The possibilities relate to the type of ink that your pen has.
You may also like: Brush Pen Comparison Guide
Pigment Ink Or Water-Based Brush Pens
There are 2 main types of brush pen ink: pigment-based ink and water-based ink.
Deciding whether you want to work with water-soluble ink or pigmented ink comes down to your goal with the final piece.
Look at the side of the marker body for an indication of what type of ink the pen contains:
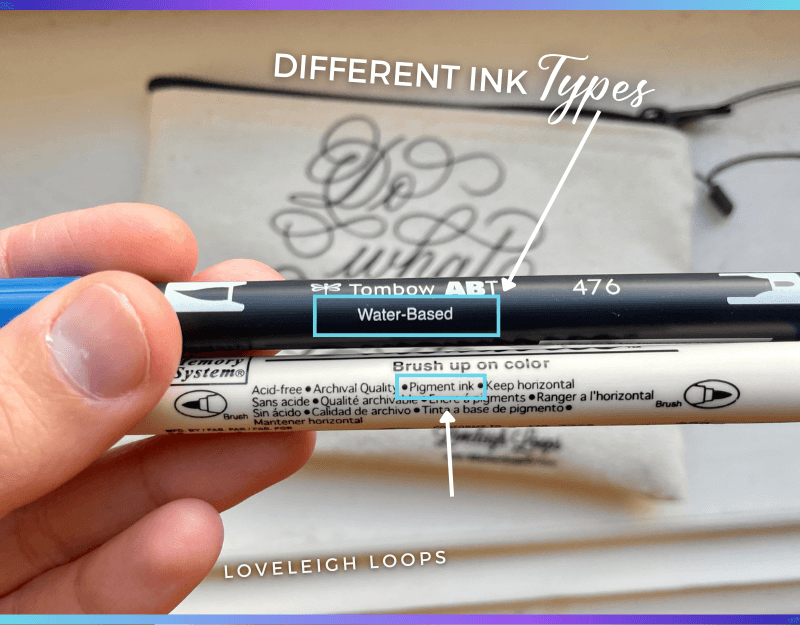
Here’s a water-based marker and a pigment-based marker side-by-side
Water-Based Ink
Also referred to as water-soluble ink, this is:
Perfect for creative coloring options, like blending colors together
Can create easy watercolor effects on the page
Because it’s water-based, the ink is impacted by sunlight and will eventually fade
This makes it better for practicing rather than for a final piece
Beautiful blending effects are achieved using water-based ink
Water-soluble ink is perfect for practicing and experimenting with blending and watercolor techniques.
You may also like: Calligraphy Pens Compared
Pigment-Based Ink
Sometimes referred to as pigmented ink, this ink type:
Often has a darker, more intense color
Is waterproof and won’t smudge
Holds its color better over time
Is ideal for final compositions with its archival quality
Although water-based brush pens are more versatile, the ink in pigment-based pens lets you create art that may last longer.
You may also like: Traditional vs. Modern Calligraphy

Watercolor Brush Pens
There's some general confusion around using brush pens for watercolor, so let’s talk about it!
Watercolor markers are defined as markers with water-soluble ink that are dilutable and blendable, which all water-based brush pens are.
This guide to watercolor markers even recommends one of the exact same pens that we often use, the Tombow Dual:
Following that definition of watercolor markers, all water-based brush pens count as watercolor brush pens!
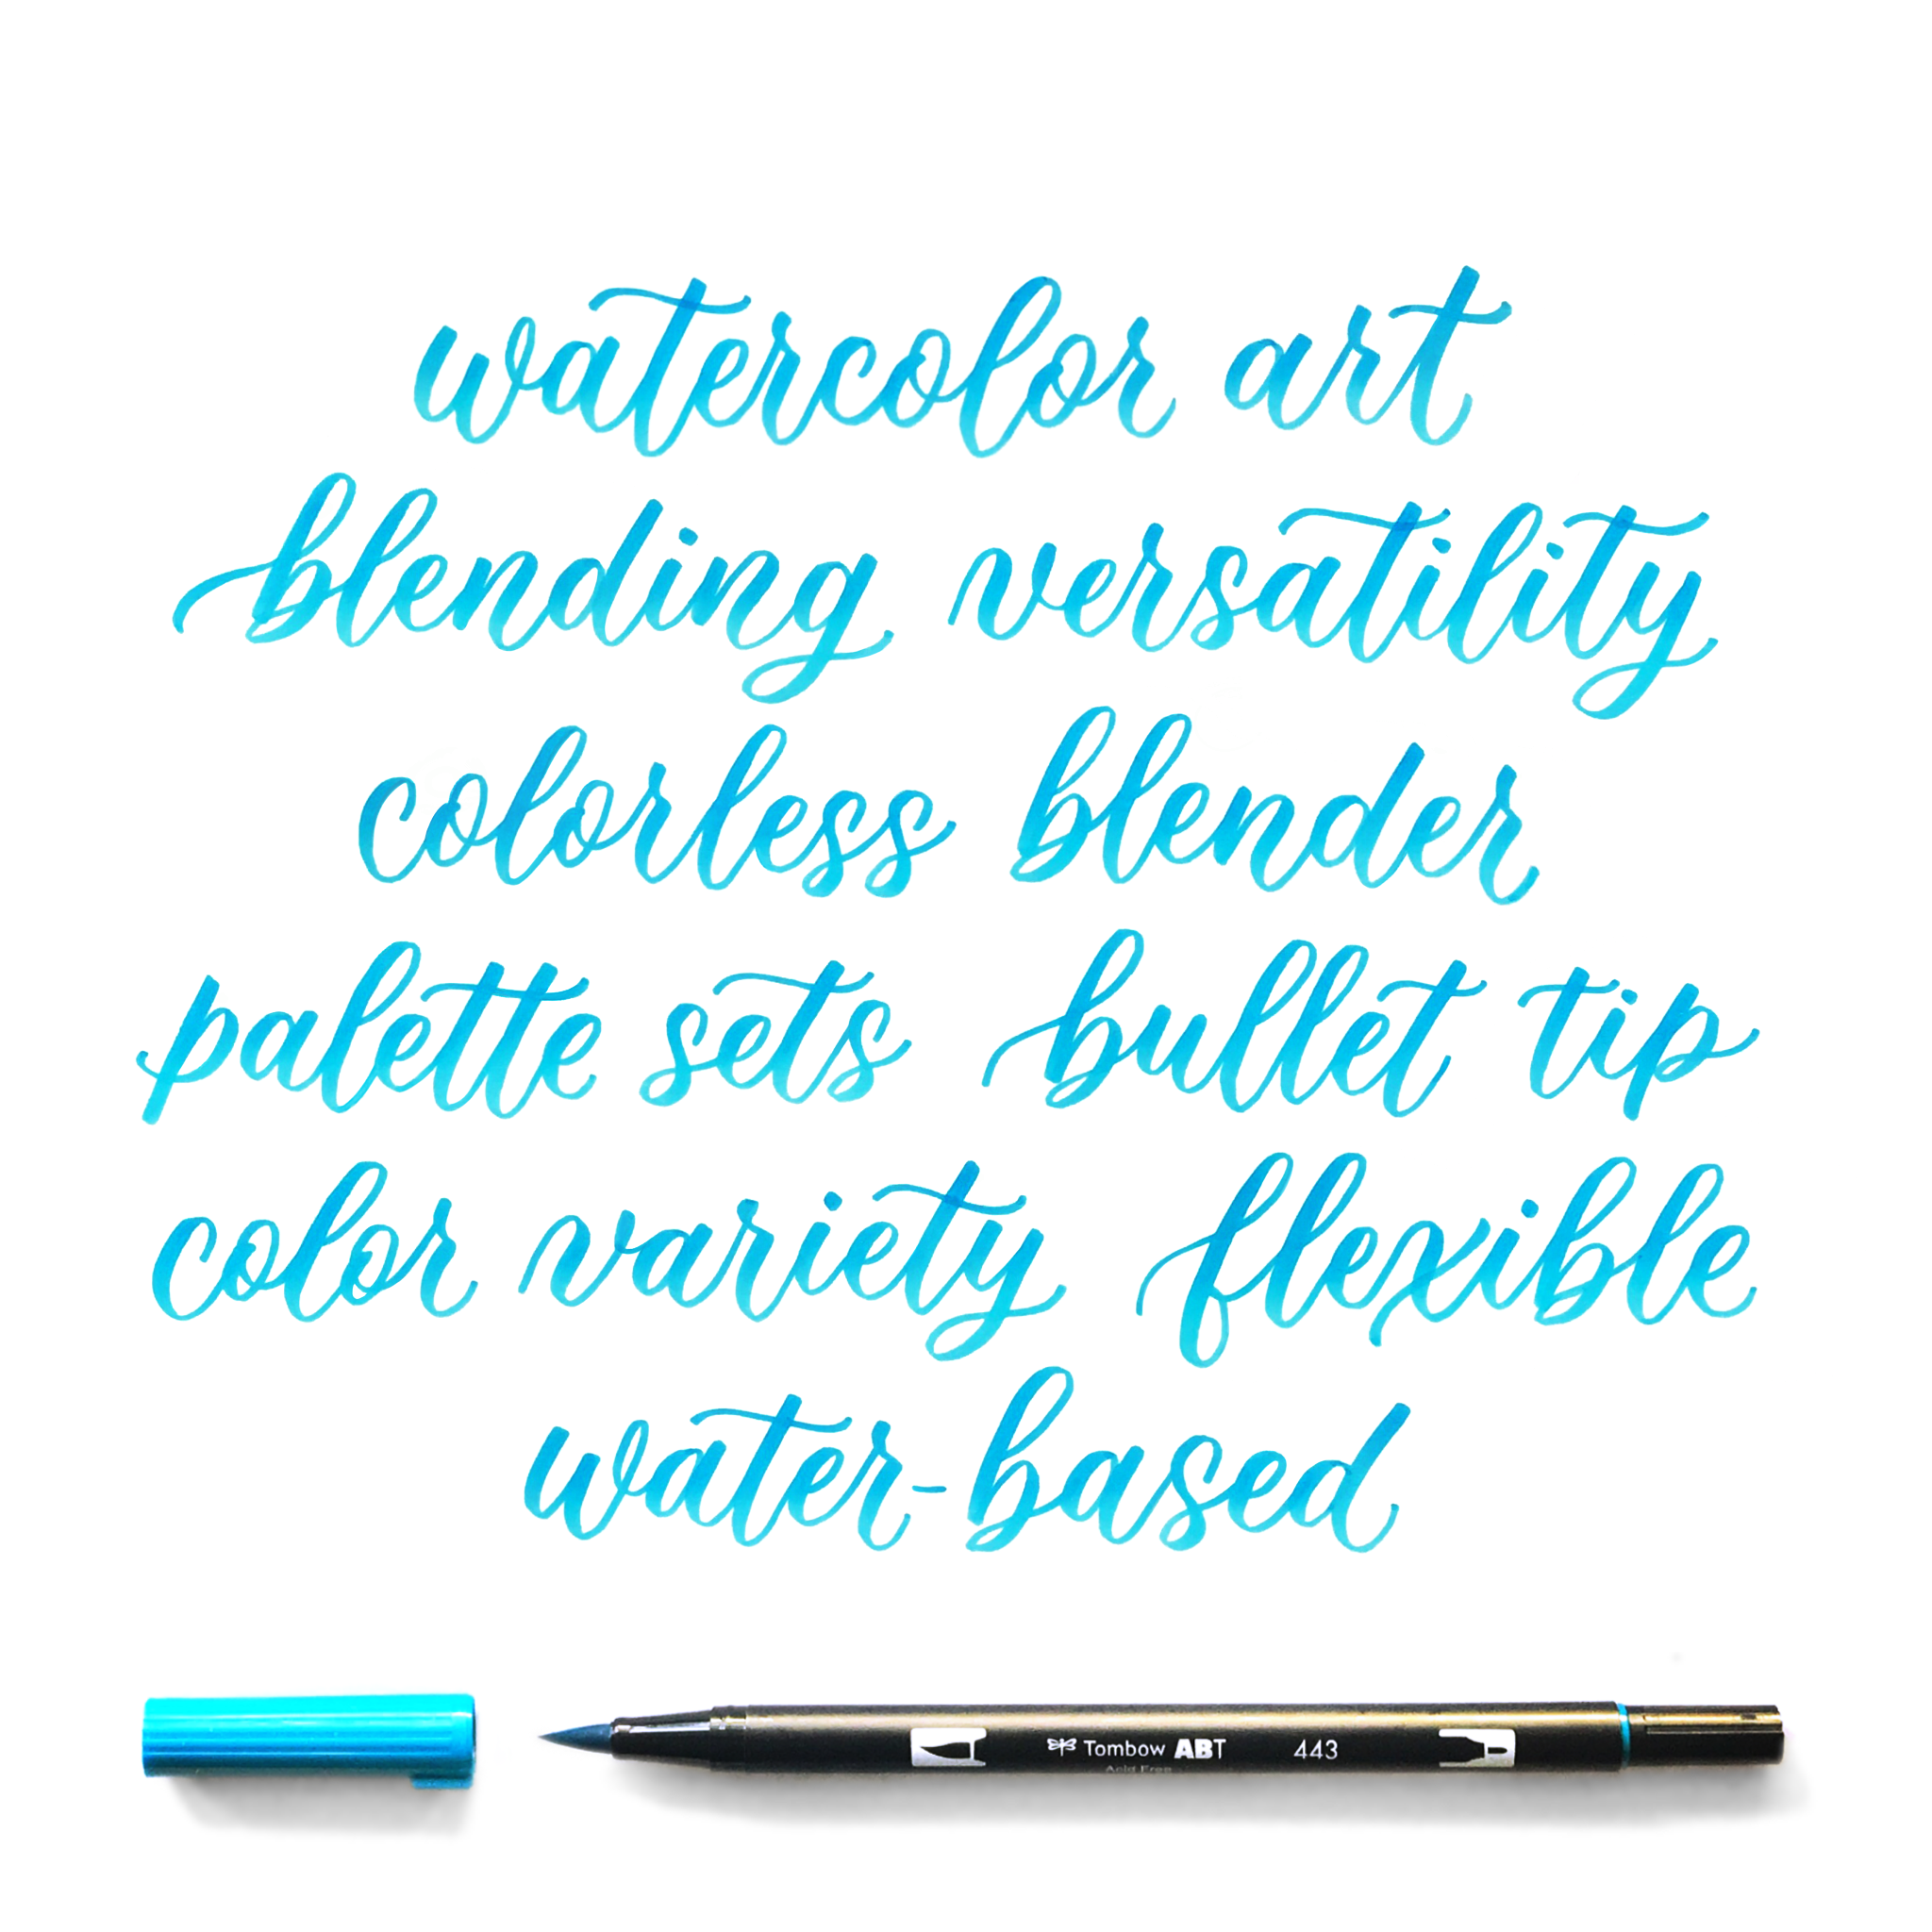
Sometimes brush pens specifically identify themselves as "watercolor markers," but looking closely at the specs, they're generally described as:
Water-based
Easy to blend colors
Ideal for watercolor painting and writing
Not requiring more water to dip your utensil into
Just like an artist paints with different watercolors, a calligrapher can use watercolor markers (water-based brush pens) instead of paint for color blending within letters and watercolor backgrounds:
Brush pens make blending and creating artistic watercolor effects really simple.
The water-soluble ink in watercolor brush pens can be easily blended together, even if you’re still a beginner and getting the hang of the utensil.
Here’s a simple tutorial:
You may also like: How to Blend with Brush Pens
Traditional watercolors or even sketching tools like pencils let you blend two colors together, and water brush pens offer bold colors and convenience, making them a popular choice.
While it's good to be aware of the differences between ink types, it's not make-or-break. If you already have markers on hand, don't feel like they're unusable.
There are endless brush pen color options!
You can do brush lettering with any brush markers you have. But here's what to look for the next time you DO buy a marker...
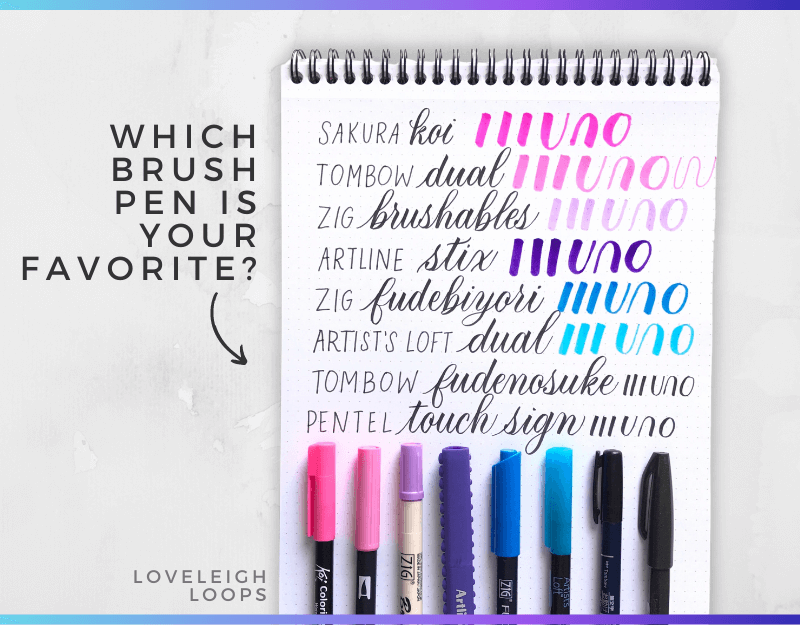
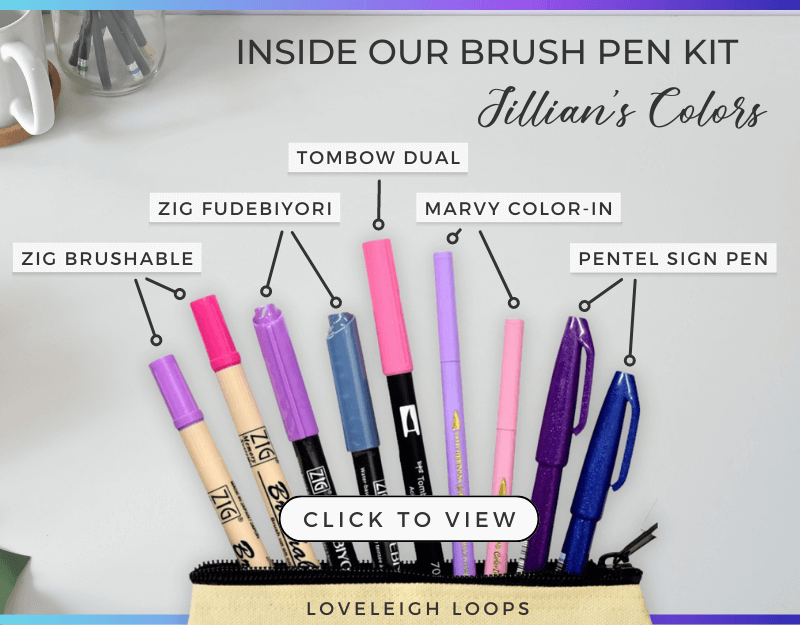
Brush Pen Recommendations
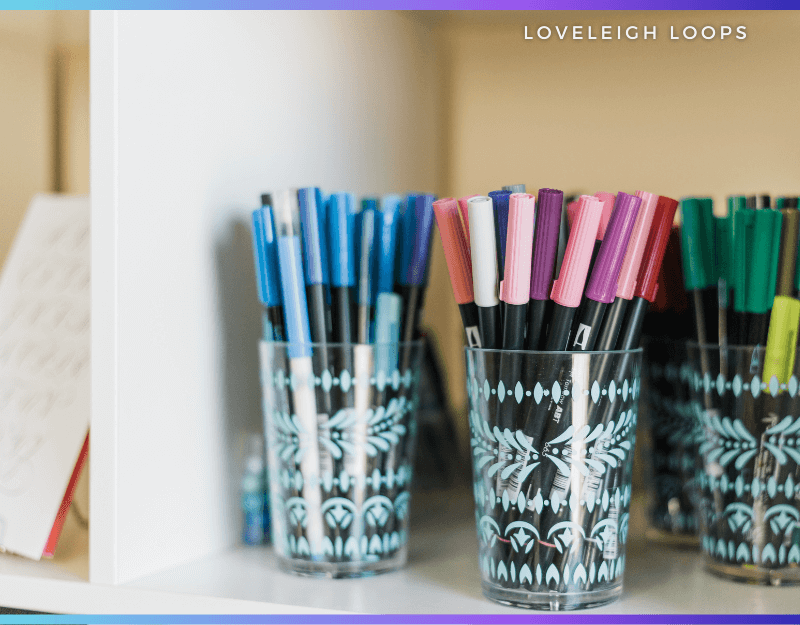
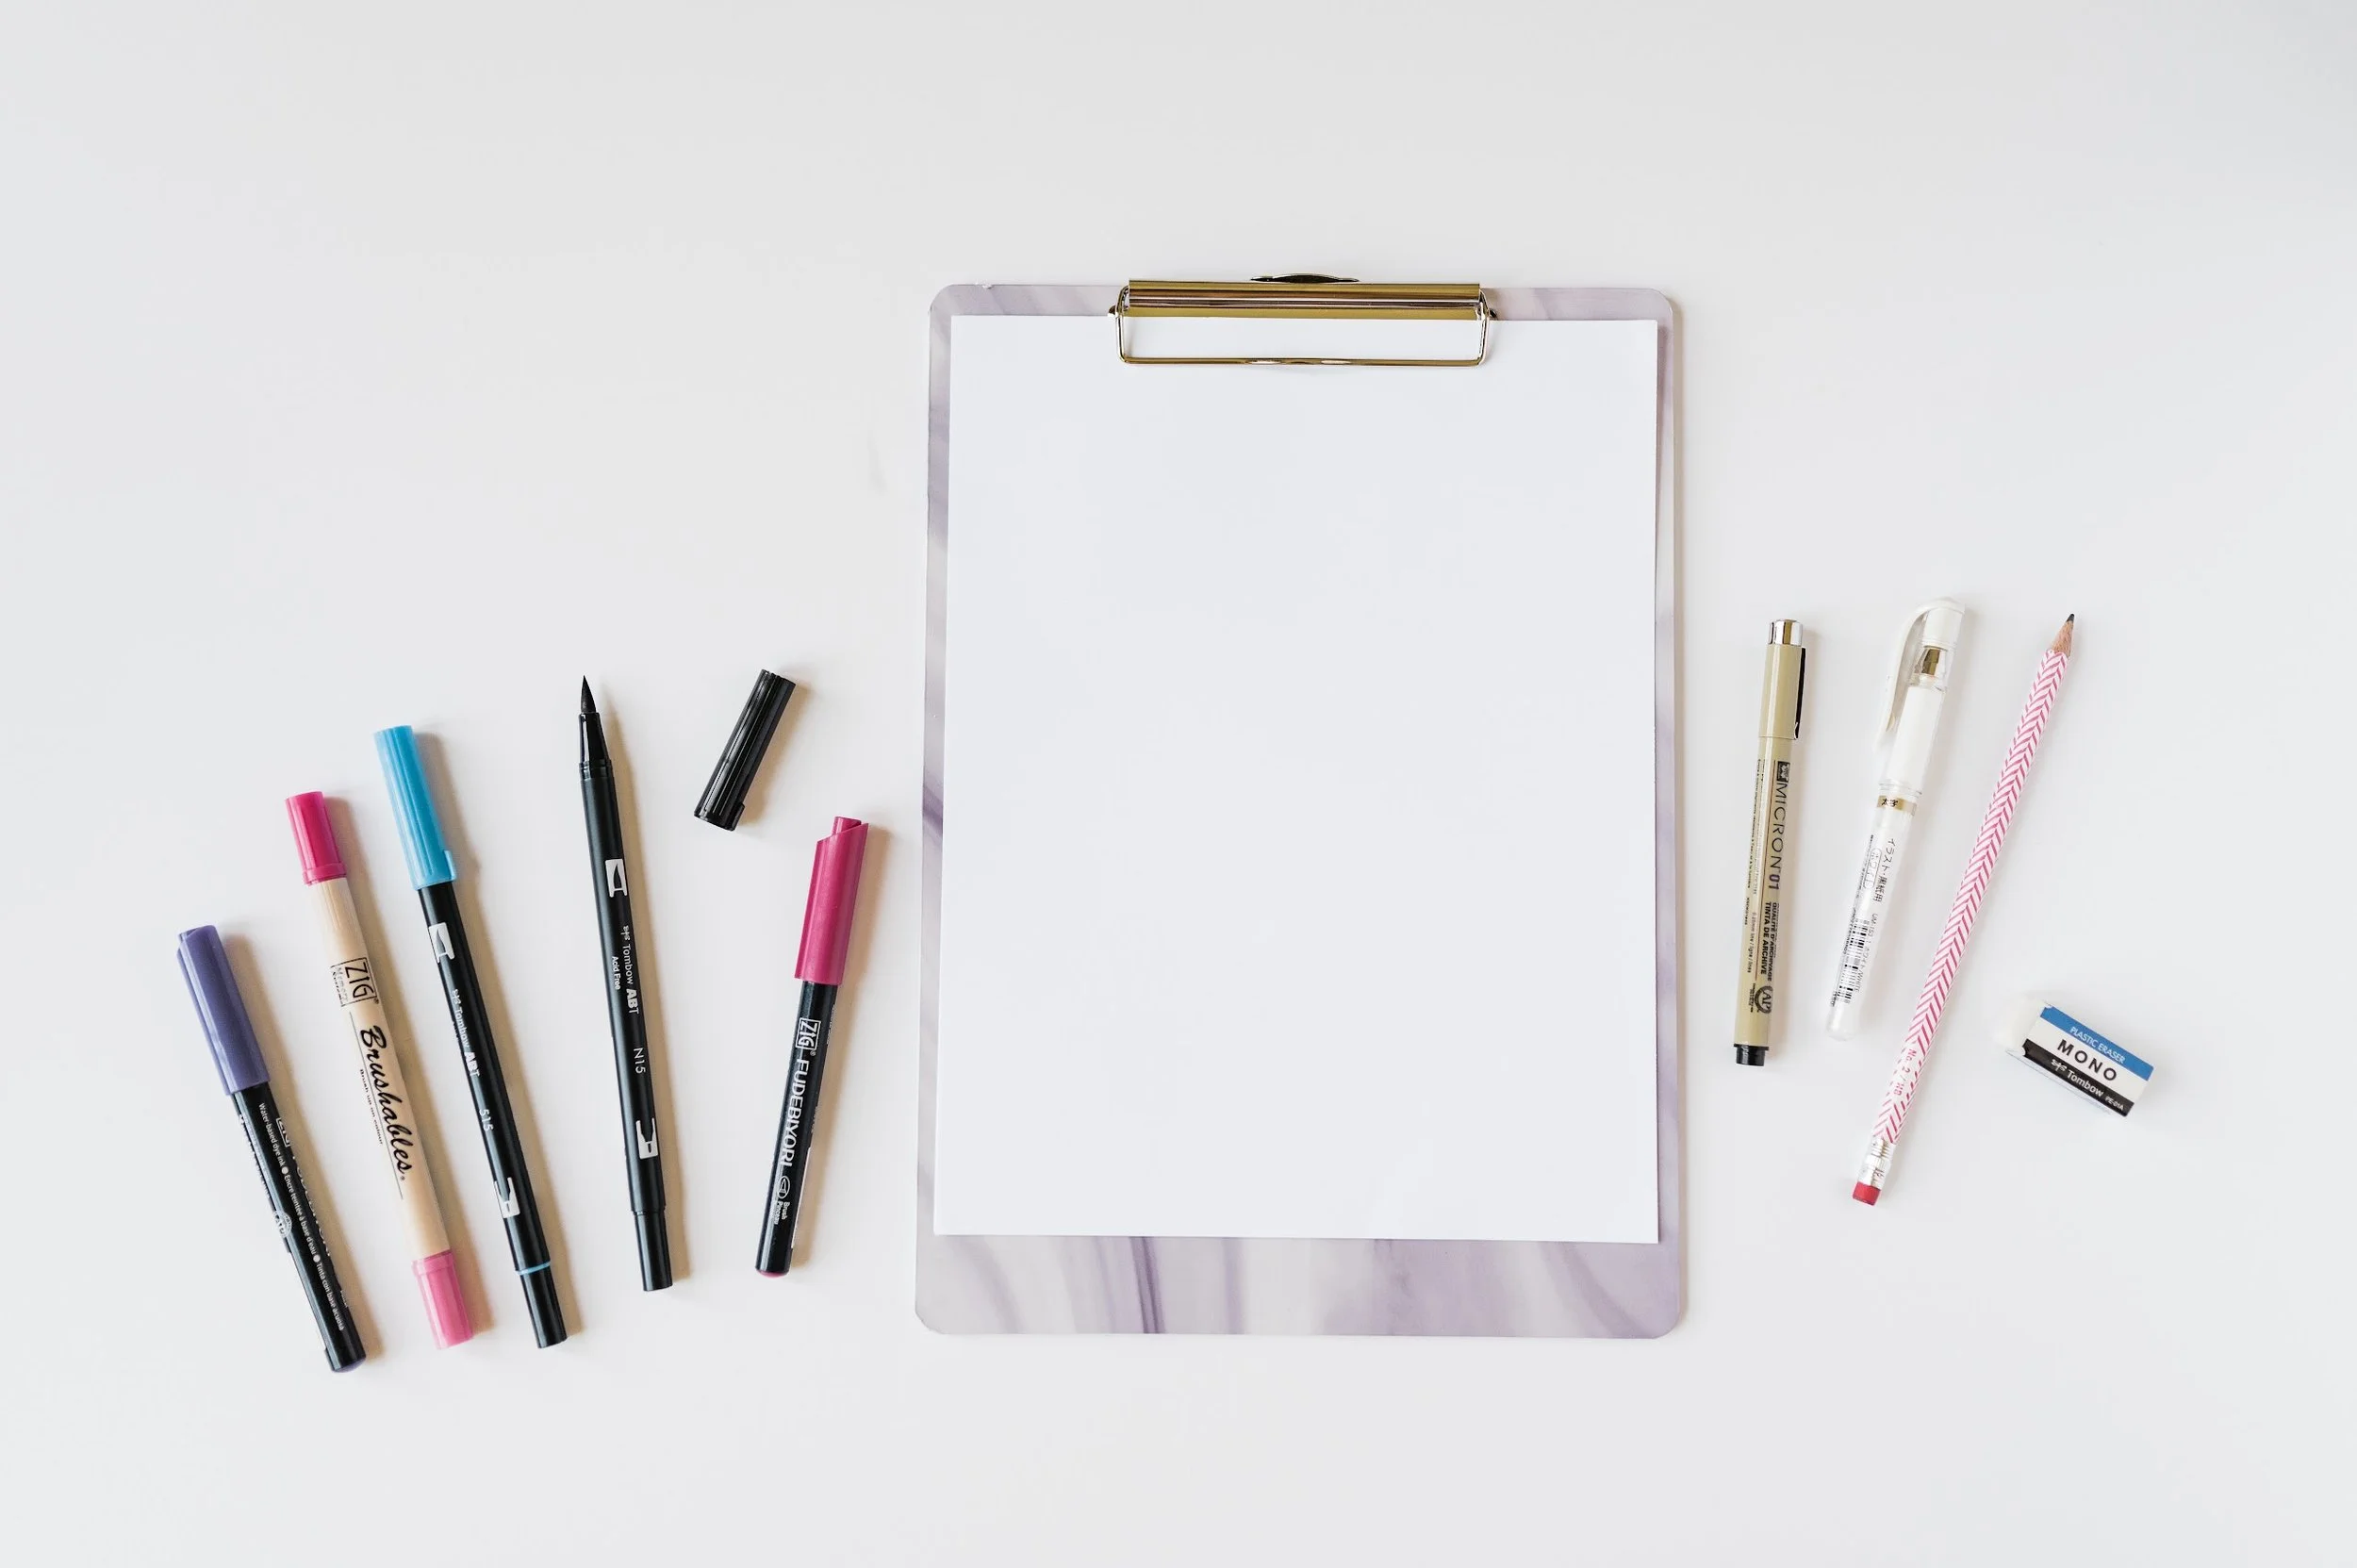
If you've ever set foot in your local art supply store, you probably remember the large variety of markers on display.
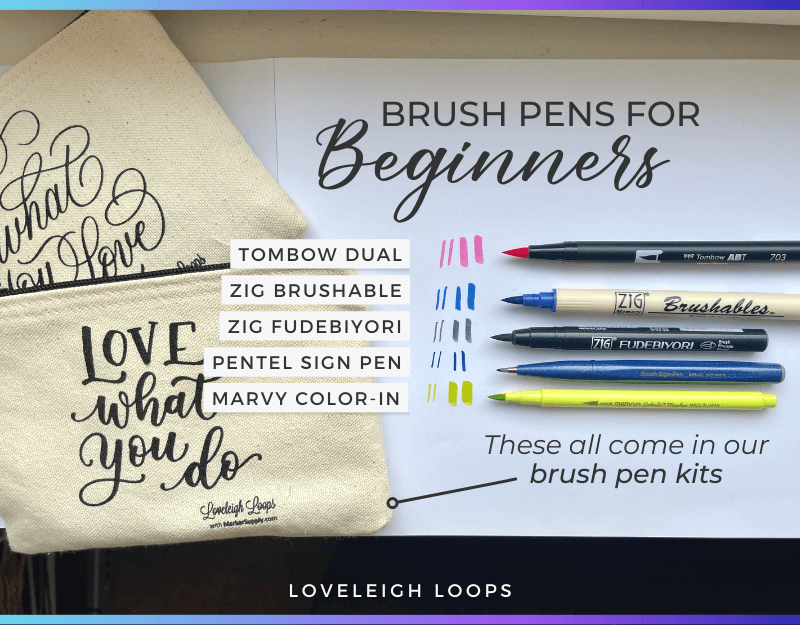
These all come in our custom brush pen kit (pouches on the left included!)
For beginners, we recommend starting with one of the larger tip markers with a brush tip that's more flexible. Here's why:
A larger brush tip lets you create bigger letters which makes it a lot easier to spot and correct any beginner mistakes.
While it may be a little harder to control at first, using a large yet flexible brush pen exaggerates any mistakes you make, which is the best way to learn!
It’s much easier to switch to a small brush pen like the popular Tombow Fudenosuke after you’ve mastered large brush pens (versus the other way around).
Here's an example of brush pen lettering with a large tipped brush pen:
This is the Marvy Color-In in action.
Using brush pens well requires a lot of repetition and improvement, and being able to spot your mistakes is how you improve.
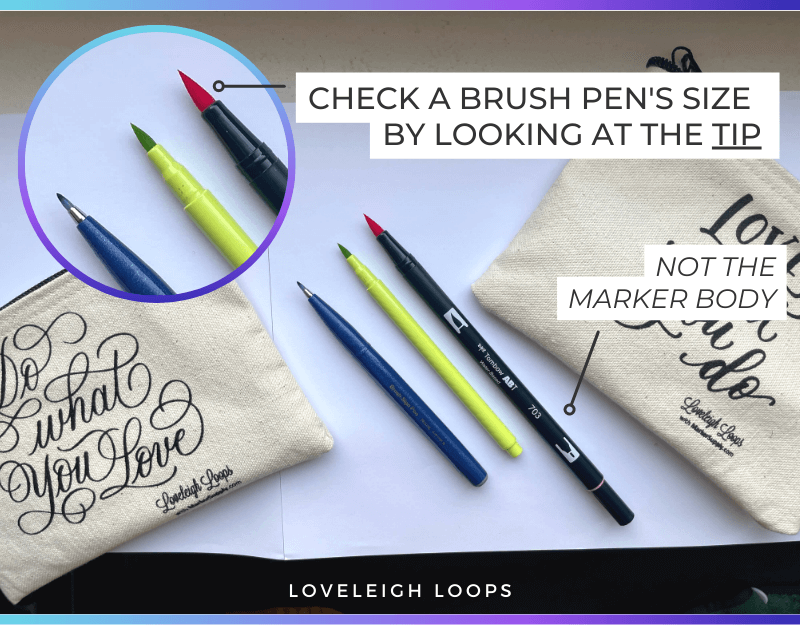
Important note: To determine a brush pen's size, make sure that you look at the marker tip and not the marker body:
Want to know more about which brush pens are good for beginners? We have a very detailed guide on brush pen calligraphy that covers most FAQs about brush pens and brush pen hand lettering.
With the right brush pen in your hand, it's time to make sure that you also have the right paper.
You may also like: 20+ Free Lettering Printables
Brush Pens And Paper
While you can use pencils and household pens with any paper, the same isn't true for your brush pens.
The right paper will yield the best results and extend the life of your pens.
Paper vs. Brush Tip
Warning: The wrong paper choice can ruin your brush pen!
This is the #1 mistake we see beginners make with brush pen calligraphy and hand lettering.
The rough surface texture of ordinary paper can quickly ruin the tips of your pens. The flexible tip of a brush pen is quite delicate and can “fray” if the paper is too rough.
You may be thinking "hey, my paper feels smooth." And you're right - it may feel smooth to the touch, but it’s actually pretty rough and brush pens will notice. Imagine writing on sandpaper…that’s what it looks like at a very microscopic level.
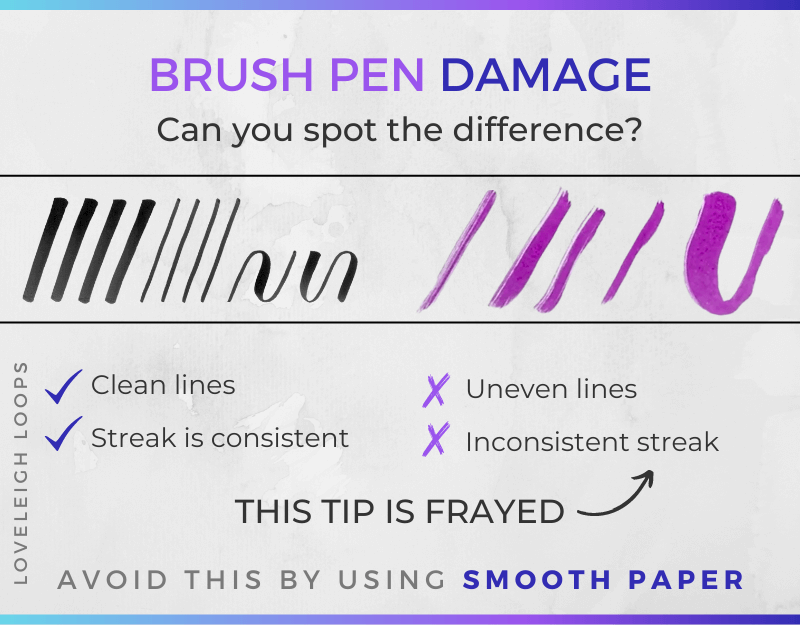
Rough paper will fray your pen tip
Solution: Brush pens work best with paper that has a very smooth surface. One that's actually LABELED smooth.
We recommend Canson Marker Paper for brush pen lettering.
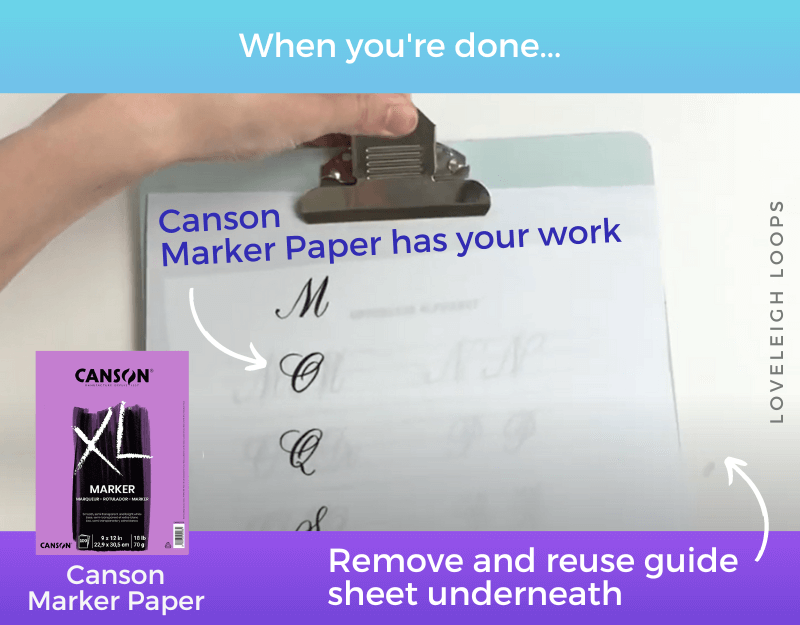
Canson Marker Paper is also thin enough to be used as tracing paper, which is convenient for tracing worksheets or doing repetitions of a sketch.
Learn even more in our complete paper guide.
Watercolor Paper
Watercolor paper deserves a little more attention because so many hand letterers reach for it when using brush pens.
While it may feel natural to reach for watercolor paper when blending and trying a watercolor effect in your composition, watercolor paper is very rough.
Just remember:
Watercolor paper is rough enough to damage your pen tip, so avoid it for everyday practice
Consider saving watercolor paper for your older brush pens so you don't ruin a crisp and clean tip
Or, set aside certain brush pens that you only use for watercolor techniques so you don’t worry about ruining them for lettering
You may also like: Best Calligraphy Books 2024
Using A Brush Pen For Hand Lettering
We surveyed our Facebook group members and asked them what their biggest challenges were with learning how to use brush pens. These were their tops answers:
Contrast and pressure control
Shaky upstrokes
Supplies
Transitioning (between thick and thin strokes)
Consistency
Flexible brush tips have a unique learning curve. The muscle control is different from pencil calligraphy, pointed pen calligraphy, and Procreate calligraphy.
Here are our best tips for overcoming those challenges and having great form when using a brush pen.
Holding your pen the right way is the first step.
You may also like: Intro To Bounce Lettering
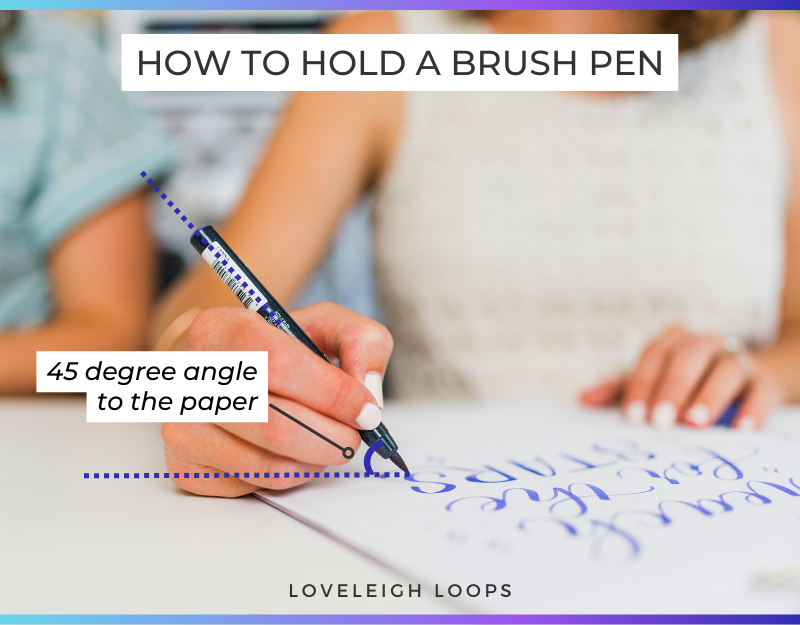
How To Hold A Brush Pen
Let's make sure you're holding your brush pen the right way. If your pen is in the wrong position, you won’t get a thick enough downstroke no matter how hard you press.
There are two things to consider when it comes to holding a brush pen: the pen orientation and the angle to the paper:
From an overhead view, position your pen so the tip points to the side rather than to the top of the page.
Look at your pen from a side view. It should be angled at 45 degrees to the paper. You don’t need to get out a protractor, just make sure it’s not too upright!
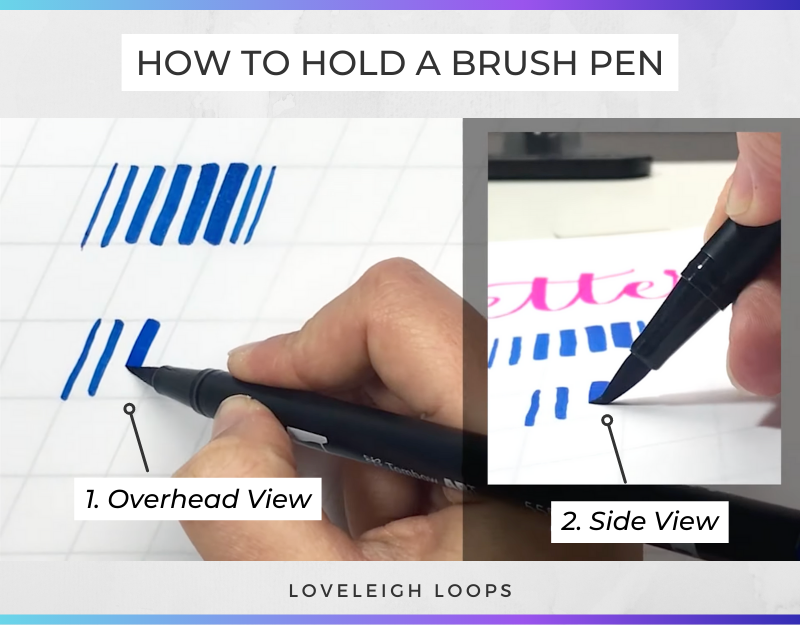
Watch our video to see a demonstration of how to position your brush pen correctly:
Got your paper?
Holding your pen the right way?
Then it's time to practice!
You may also like: Lowercase Calligraphy Alphabet
Brush Pen Practice
Let's address the learning curve that comes with using brush pens for calligraphy.
Create Contrast In your Strokes
For beginners, one of the biggest obstacles in calligraphy is getting used to drawing lines while applying different amounts of pressure.
Use a worksheet to help you build consistency. We made free sheets for you that are available for instant download here:
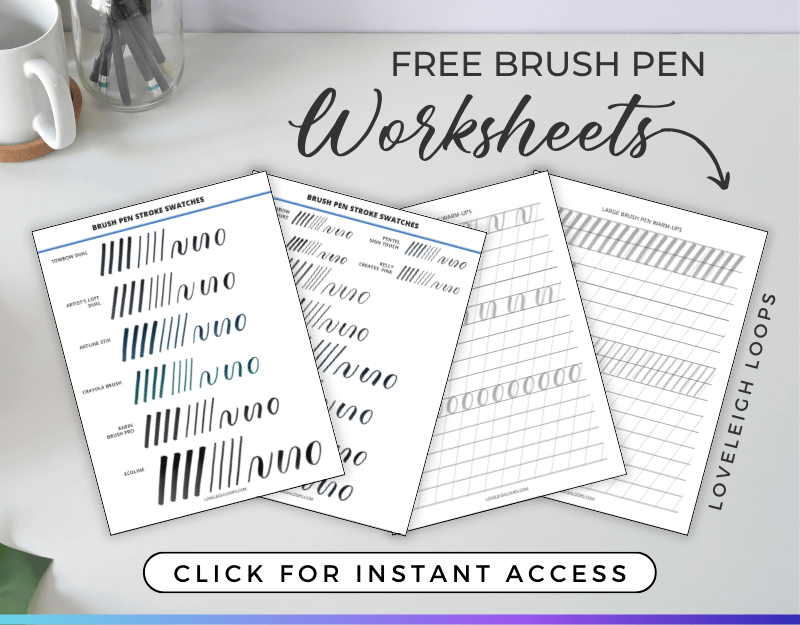
Mastering the skill of adding thickness to your downstrokes (also called shade) is primarily a matter of practice. By practicing one calligraphy stroke at a time, you can build up the muscle memory you need.
If you're unsure where to add shades, pay attention to the direction of your lines. Use a light touch when the pen goes up and apply pressure when every time the pen moves towards you.
You'll be surprised by the effect of simple shading. It's this contrast in your different strokes that turns basic writing into beautiful hand lettering.
You may also like: Easy (Faux) Calligraphy Tutorial
Work On Consistency
So you've practiced for a few minutes, but what's next? Consistency.
And there are 2 types of consistency you're trying to build.
The first is consistent practicing.
WHEN will you practice? After work? During your child's naptime? In the morning while having coffee? Choosing a specific time will yield the most consistent results.
WHAT will you practice? Beyond your basic strokes (the free worksheets we just shared), what will you work on next? The alphabet? Quotes?
We have loads of free resources to help you learn, but if you'd like a simple place to start, we recommend our step-by-step beginner calligraphy workbook:
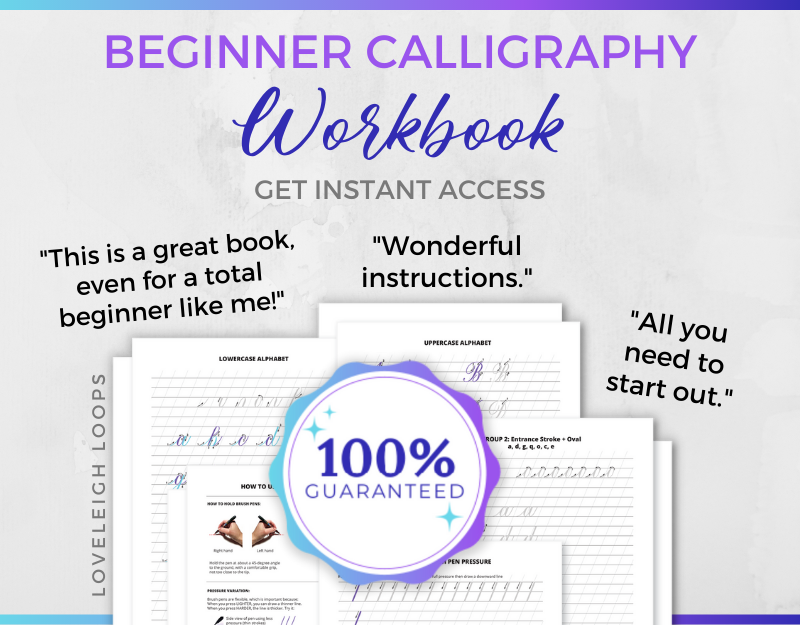
The workbook includes...
An overview of brush pen lettering
Lettering instructions for the entire alphabet
Style exploration
Empty worksheets
Plus a practice calendar to help you make time for practicing
Consistency is the ultimate goal, with both your practice schedule and your technical execution.
Aim for technical consistency in the:
Angle of every stroke
Height of every loop
Thickness of every shade
This is the moment when calligraphy becomes hard, but trust us when we say that it's also the moment when you start to see yourself improve with every single practice session!
Consistency hack: ALWAYS use a guide sheet. Even the calligraphy pros use guide sheets in their practice. Consistency may sound elusive, but muscle memory will form through repetition.
You may also like: How To Do Brush Pen Ribbon Lettering
Learn Brush Lettering
Beyond our Beginner Calligraphy Workbook, we have other free and paid resources that can help you learn how to use brush pens with ease and increasing skill.
Brush Pen Lettering Online Courses
Want to transform into a confident brush lettering artist? Our Brush Lettering Bootcamp is our most popular course:
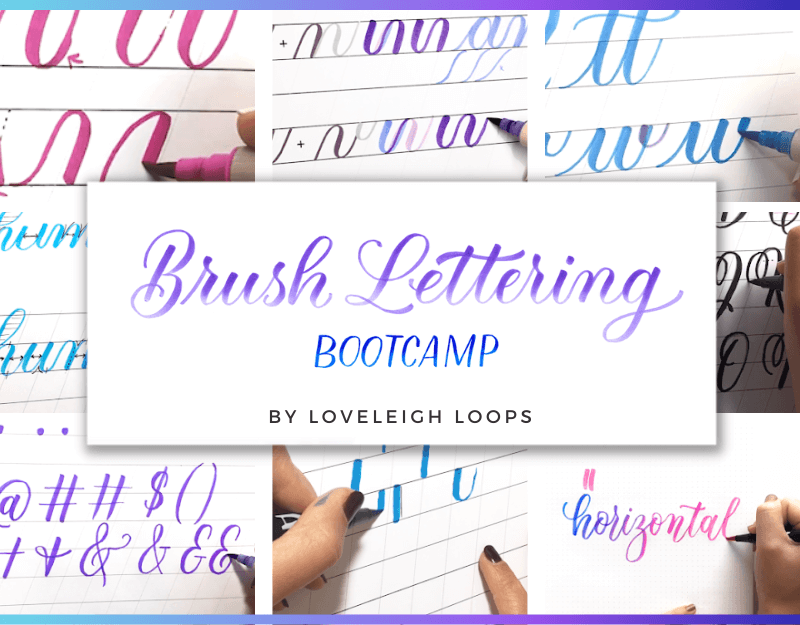
Your brush pen will become your closet friend and most trusted tool with this complete roadmap to brush lettering.
Move beyond the basics and perfect your unique style with our Style Study Bootcamp:

Your days of feeling like your style just looks “meh” can be a thing of the past.
Improve your layout skills and learn how to effortlessly produce gorgeous compositions with our Composition for Calligraphers course:
You’ll get a roadmap for making more advanced compositions without pulling your hair out.
Brush Pen Lettering Free Resources
Our Calligraphy Supply Guide answers all FAQs about popular calligraphy tools and shares our top recommendations:

You’ll learn the nuances of different calligraphy tools, plus how to get started practicing with each of them.
What styles can be achieved with each popular calligraphy tool?
Find out in our interactive Calligraphy Tools & Styles Guide:
You’ll learn the ins and outs of all of calligraphy’s most popular styles, plus the different tools that can help you achieve them.
Wondering how to find your unique calligraphy style? Take our Style Study Workshop:
You’ll learn how to analyze lettering styles and develop a cohesive style for yourself.
Or start experimenting with new styles right away using our Letter Logic Workbook:
You’ll learn how to create new letter combinations, plus get tons of examples to pull inspiration from.
Next Steps
Remember that you can learn to write ANYTHING that you see online. Every brush pen artist that you see started as an absolute beginner, too.
There are endless creative ideas to explore with brush pen lettering, from bold coloring to soft watercolors or using mixed mediums like pencils, painting, watercolor markers and brush pens combined.
Will you share your writing with us? Post pictures in our Facebook group, or tag @loveleighloops on Instagram and TikTok so that we can cheer you on.
Brush pens are perfect for anyone that wants to dip their toes in the waters of calligraphy without the more advanced calligraphy nibs, holders and ink wells.
We hope you'll have as much fun with brush pens as we do.
You may also like:
